Brian Dipert
EDN
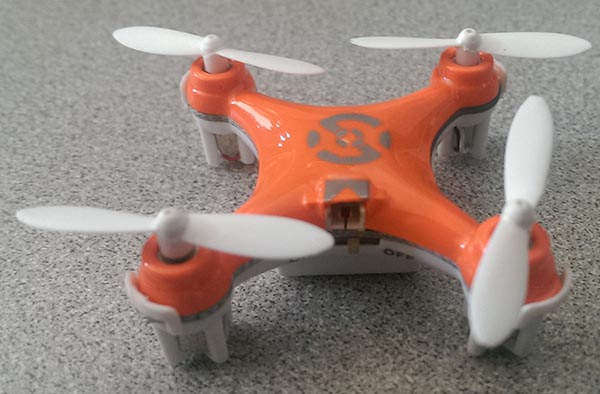
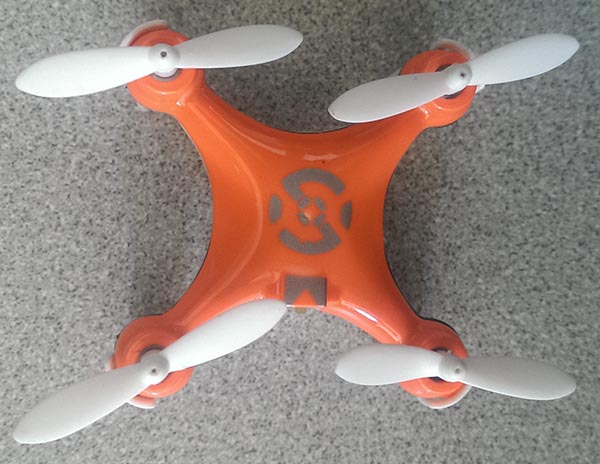
Latest-generation drones now cost around $1,000, if not more. Too rich for your blood? How about $100? Or how about ... $10? Seriously! Back in February, I picked up a Cheerson CX-10 Quadcopter for that price from bargain site Meh. Ok, I confess... I picked up two CX-10s, plus a SJ230 mid-size helicopter (hey, I had to amortize the $5 fixed shipping charge).
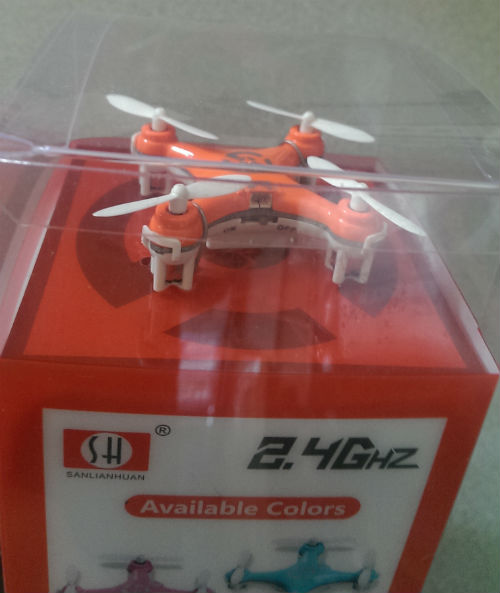
The SJ230 awaits a future dissection; today's victim is the CX-10, plus its companion wireless controller. I'll begin with a few packaging shots:
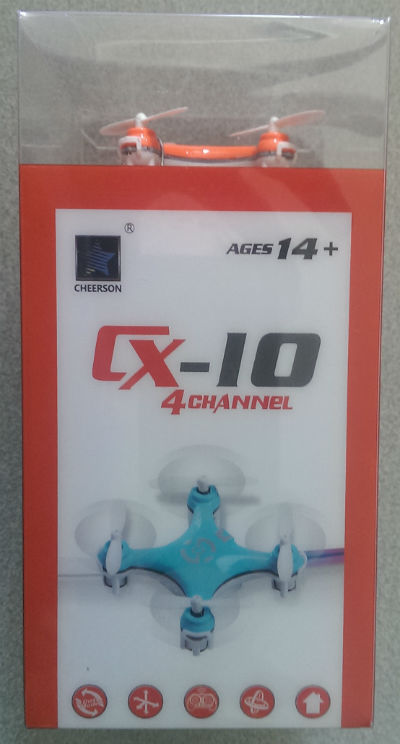 |
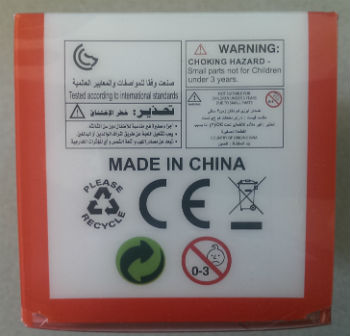 |
 |
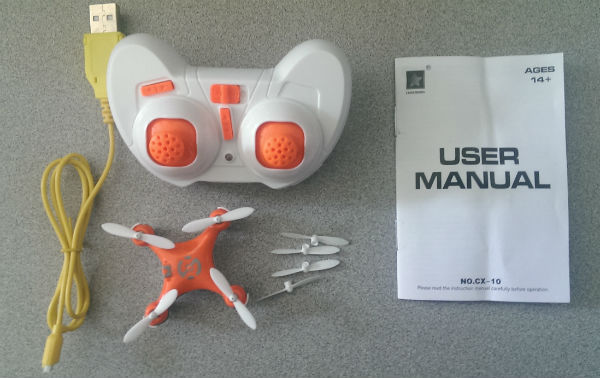
Inside, you'll find the drone, its companion charging cable, its wireless controller, and a decent-content instruction manual, along with four spare props:
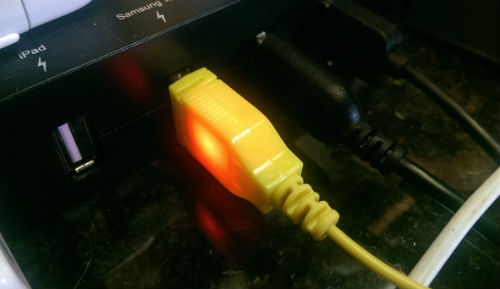
The charging cable is pretty clever; it glows while charging is active, and the LED (I assume) extinguishes when it's complete:
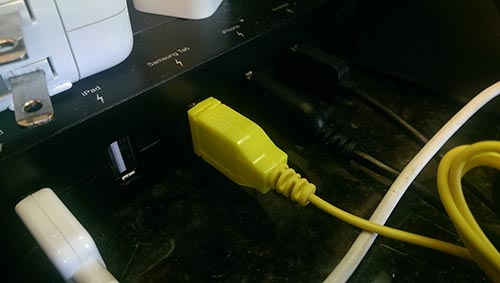
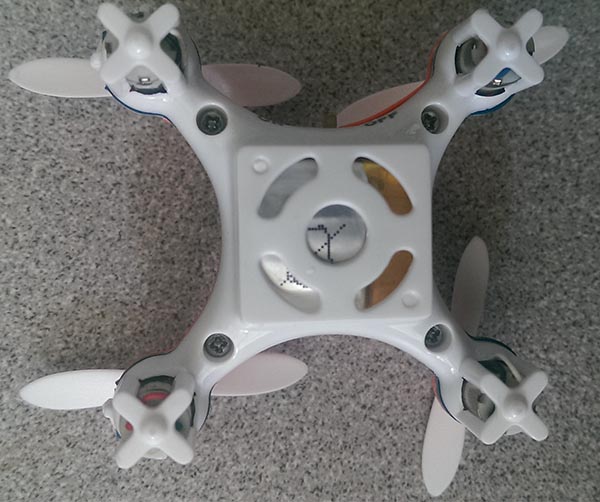
And here's a closeup of the drone, focusing on the connector that the charging cable plugs into, plus the power switch:
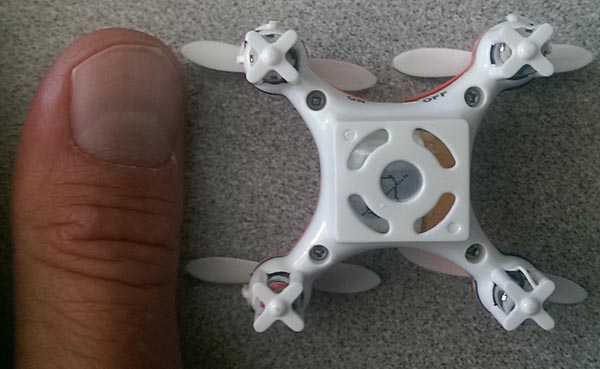
A few other views follow, some including my thumb for size-comparison case. On the underside shots, note the Lithium-ion Polymer battery peeking through what I presume are ventilation holes. I therefore don't recommend dunking the drone in a lake (or given the drone's size, a glass of water, for that matter):
 |
 |
 |
 |
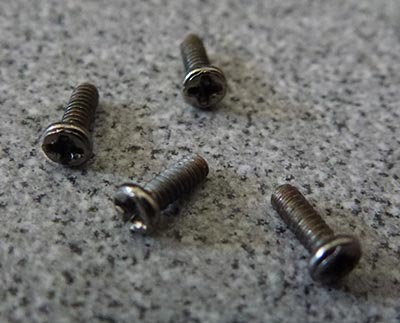
The underside screws were tiny, but the "000" Phillips bit in my iFixit Driver Kit handled them with aplomb:
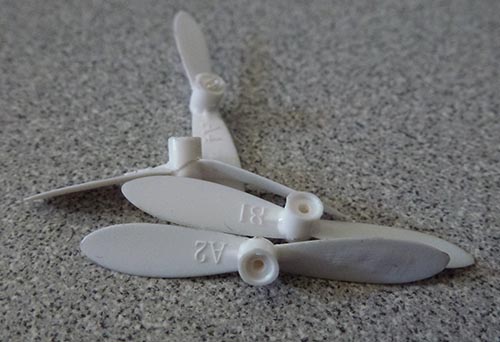
Pull the four props off their shafts, as well:
And the top and bottom halves of the chassis then come apart easily, revealing the PCB inside:
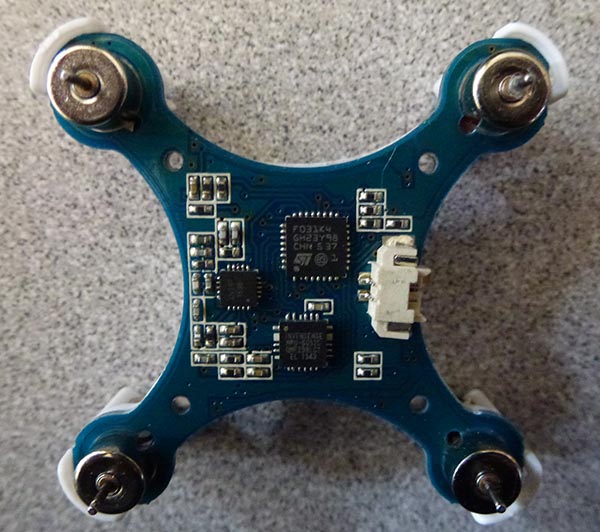
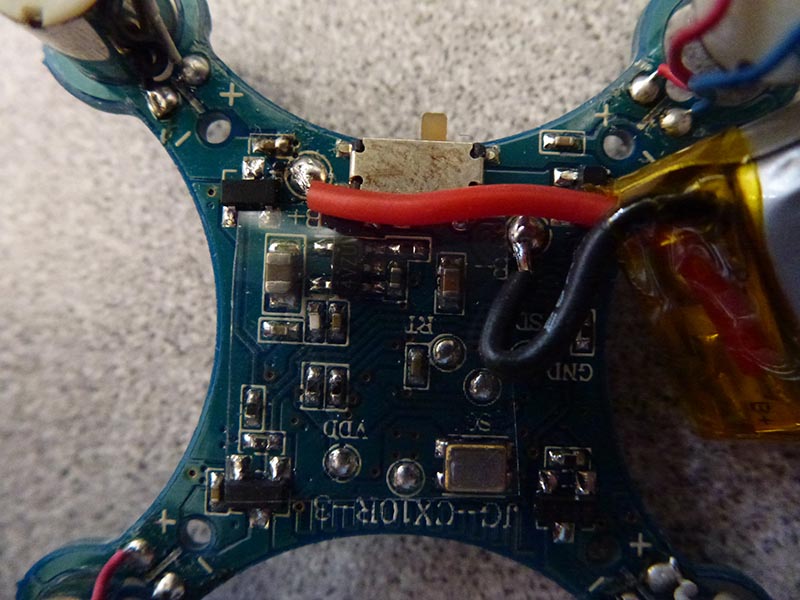
Here's a closeup of the PCB topside:
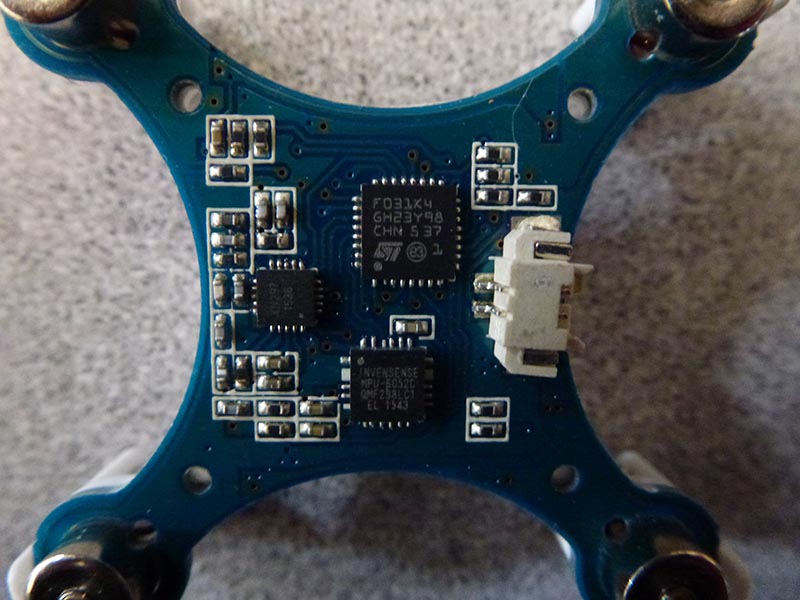
On the left is a Panchip Microelectronics XN297 2.4 GHz transceiver, intended for wireless mice and other applications (we'll see its corresponding antenna a bit later). At the bottom is an InvenSense MPU-6050 MEMS IC, which combines 3-axis gyro and 3-axis accelerometer functions along with integrating a motion processor (all of this for perhaps obvious flying-machine needs). And above it is STMicroelectronics' STM32F050K MCU, based on an ARM Cortex-M0 processor core and tailored for, among other things, motor control. Fancy that!
Now let's flip the assembly upside-down and take a closer look at the previously mentioned battery:
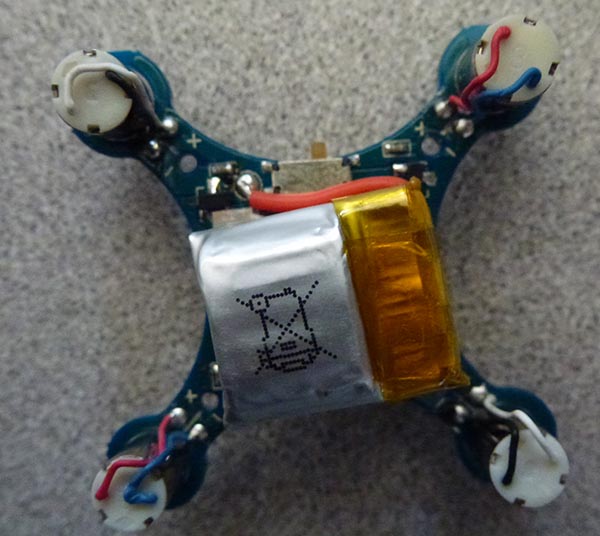
Flipping it upside-down reveals that it touts 100 mAh capacity, capable of around 4 minutes of flight time between charges (hey, what do you want for $10?). It also requires around a half hour for a full recharge cycle. And another CX-10 teardown (apparently of a unit using a different manufacturer's cell) indicates that it's specified at 3.7 V.
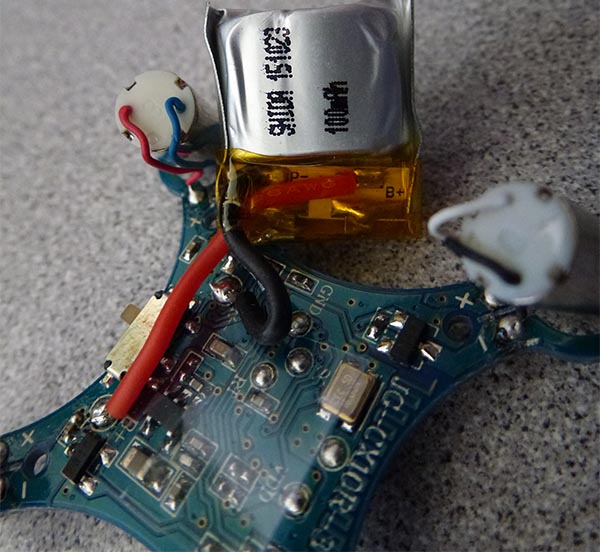
In this closeup, you can discern the 2.4 GHz antenna trace-etched into the PCB. By the way, the piece of clear plastic you see, which conduction-protects the PCB from the battery, isn't glued down or otherwise attached to anything. The power switch at the top also looks a bit dodgy, eh?
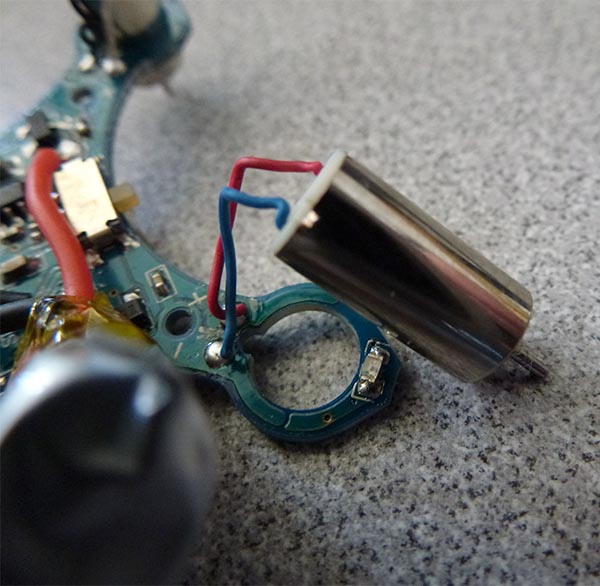
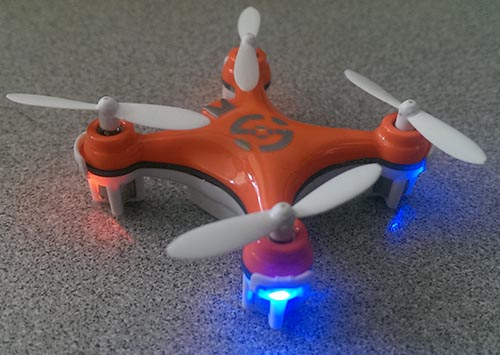
Concluding the drone portion of the teardown, here's a closeup of one of the motors. Note, too, one of the drone’s four blade-located LEDs. You'll see them in action in a bit.
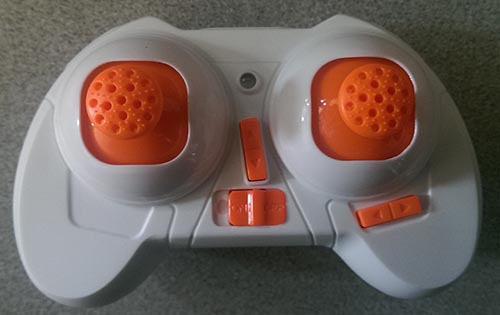
Now for the controller:
It didn't come with batteries, but ... umm ... my wife and I had to test the drone pre-teardown, to make sure it worked ...

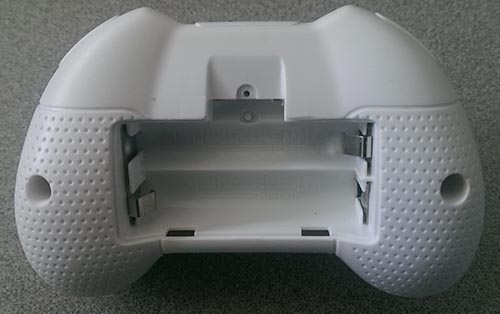
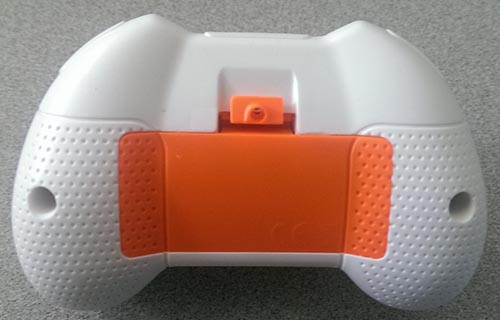
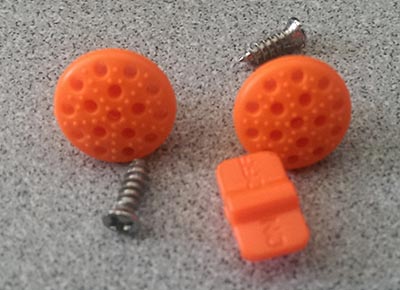
Remove two screws, pop off the joystick "mushrooms" and the power switch cover:
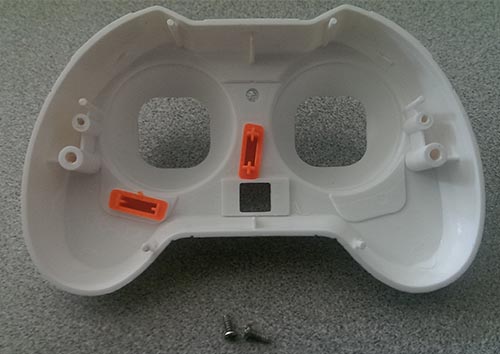
and the two halves separate straightaway:

Two more screws removed exposes the PCB's topside to view:
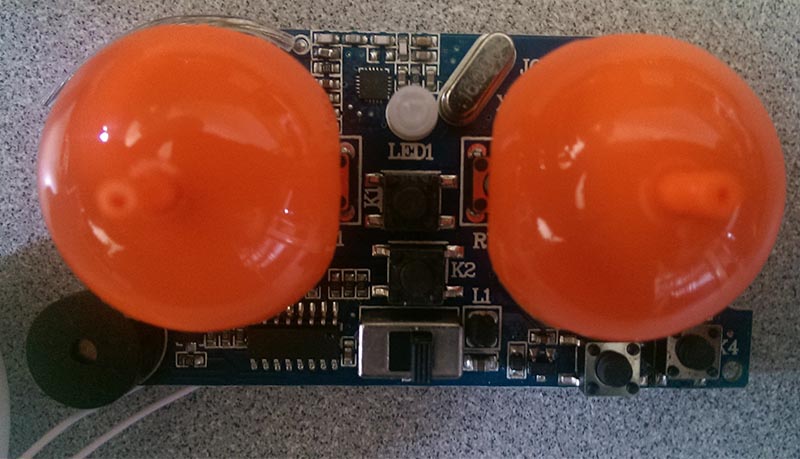
In the lower left corner is the speaker. The joystick on the right is spring-loaded to automatically return to center in all directions and tackles the aileron function; its "trim" is handled by switches K3 and K4 below it. The joystick to the left, spring-loaded only horizontally, is the throttle for ascent, descent, speed, and direction; its trim comprises switches K1 and K2 to its right. Also visible are the multi-function LED in the top center, a 16 MHz crystal to its upper right, the power switch at the bottom center, and an antenna above the left joystick.
Here's a closer view of the PCB:
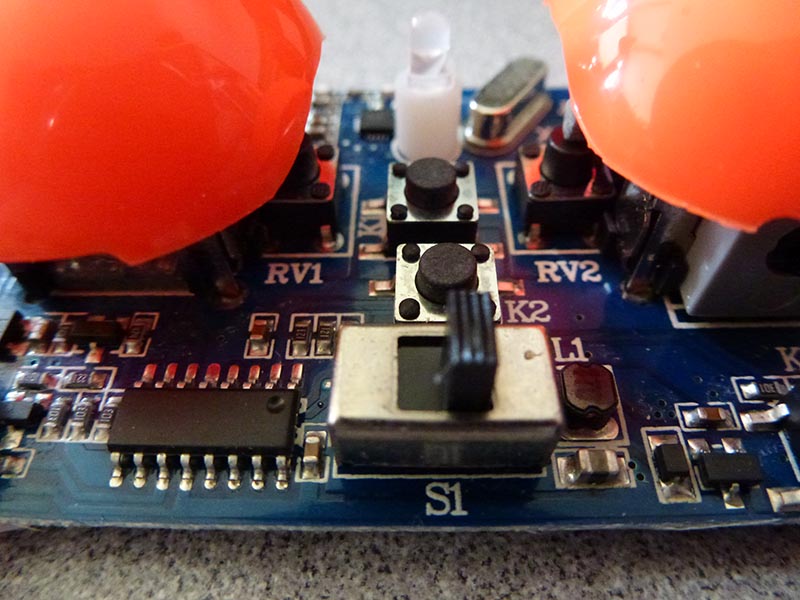
Unfortunately, the 16-lead IC in the left corner is completely bereft of markings, so I have no clue as to its manufacturer or function. But…
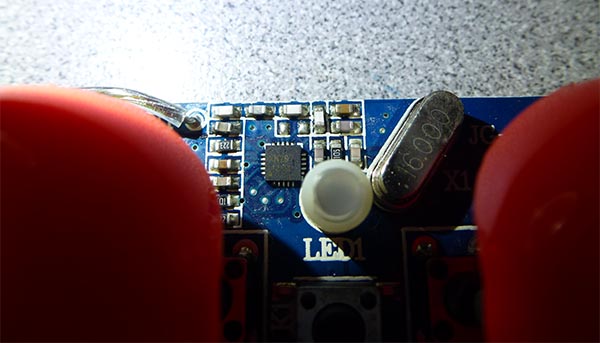
The IC in the upper left corner of the LED is clearer to me. It's another Panchip Microelectronics XN297 2.4 GHz transceiver, the mate of the one in the drone. Its rudimentary antenna is again partially visible to the upper left.
One aspect of the design, however, completely bewilders me. Underneath the two joysticks are two more switches, labeled RV1 and RV2:

Here's another view:
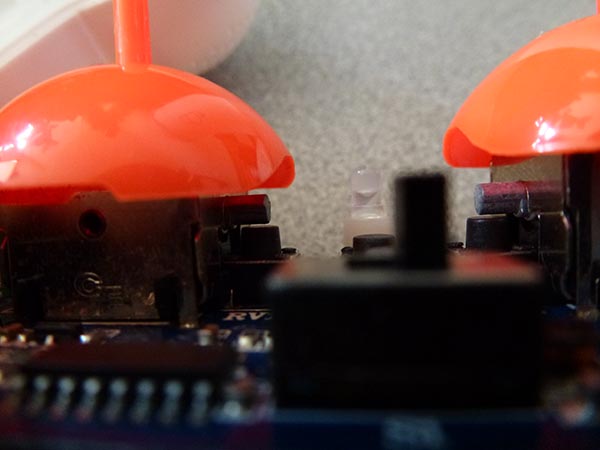
As you can see, there are corresponding appendages coming out of each joystick. But for the life of me, I was never able to get them and their switch peers to make contact, thereby actuating the latter. I therefore have no clue what they're there for.
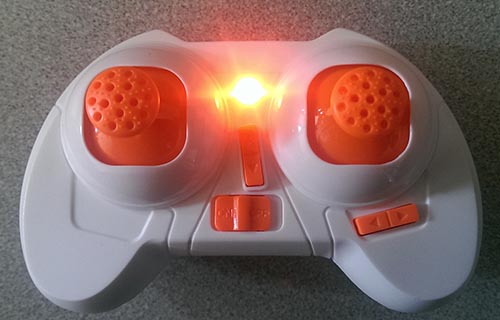
Good news, everyone! After carefully putting the drone and controller back together, everything still worked fine. Here's the controller powered up (its LED blink-or-not pattern, in conjunction with speaker tones, indicates whether or not it's connected to the drone):
And here's the powered-up drone (ditto on the blue LEDs' behavior):
True confession: I had only one reassembly issue. When I powered the drone back up, its rotors spun madly but it didn't rise off my desk. Looking closely, I realized that the rotors weren't identical; some blades were tilted to the left, others to the right, and I obviously had them in the wrong locations. Fortunately, I had a second drone available to compare against. And, as I later realized, I alternatively could have consulted a diagram on the manufacturer's website. Caveat emptor.
