Do you like making electrical gadgets? Read on to find how to make them look indistinguishable from professional shop-bought equipment with nothing more than a can of spray glue and some OHP transparencies. Whether you are just making a flashlight or designing the greatest microcomputer-controlled device, making the finished product look professional adds an enormous amount to the 'wow-factor' of your finished gadget. The big device in the image is nothing more than a switch box to control some lights in a school production of "Carmen" (hency the tacky pun with the name), but it looks like a commercial shop-bought product because of the use of a few simple techniques described here.
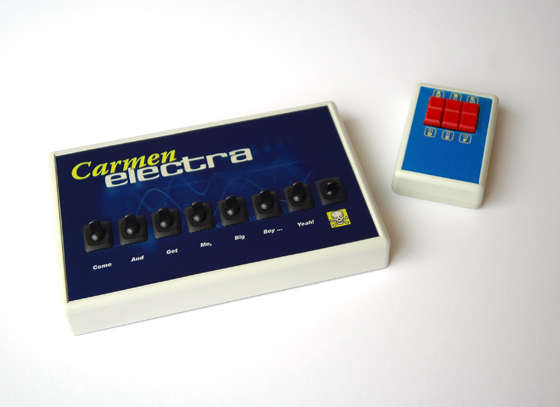
Gone are the days when you have to choose a boring black square-edged enclosure for your device - now there are hundreds of choices, some with lovely smooth edges and even rubber hand grips. Go to somewhere like Digikey in the US or Rapid in Europe, and choose a box that is the right size and look for your project. Ideally, get one with a recessed area on the front panel for an overlay - in this image, you can see that each of these has a front panel area that is recessed by a fraction of an inch.

Use a program to design the front panel overlay - I use Adobe Illustrator, but that is not the easiest to use (or the cheapest). Something like CorelDraw is more user friendly, but even Word, Publisher or even Powerpoint can work just as well.
Measure the 'recess' area of your box, and make your design a few millimetres (1/8") larger all-around - this is called a 'bleed', and is there so you can chop off the edges and have color going all the way to the edge of your design. Work out where you want any buttons or other components, and accurately position text to label these. Choose an interesting font (preferably other than Times New Roman and Arial - these look boring just because they are used for everything!)
To make it look really classy, put an image behind the text - I use a istockphoto which costs only a dollar or two for that perfect background image, but you can easily find free ones on a Google Image Search as long as you are not going to churn out thousands of widgets to sell and get yourself in trouble with licensing issues.
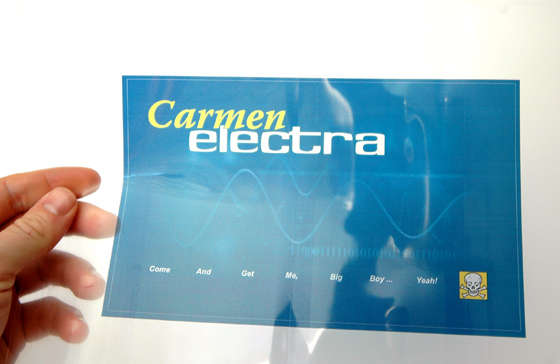
Finally reverse the design (most graphics programs have a "mirror image" function), and print it out on an OHP transparency sheet. If you can't find out how to reverse the image in your package, you can probably tell your printer to do this for you (many inkjets have this function built in to allow you to do things like T-Shirt transfers). Failing that, you don't really even need to reverse the image - but if you can, it just means you can turn the transparency over after printing, and the ink will be on the reverse side of the plastic, and will then stay protected for life and not scratch off. Alternatively, you could use a 'fixative' spray on the ink (like a lacquer), or stick another clear sheet of OHP film on top. Here is an image I have printed reversed from my color laser (the photo here shows it turned back around the right way). If you are using a laser, make sure you get a proper 'laser/photocopier' transparency that will withstand the heat, and if using an inkjet, use a proper inkjet transparency that is coated to make the ink stick.
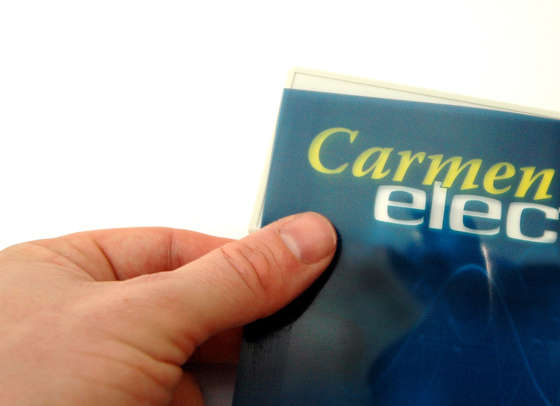
Now time to stick it on - before you do this you will need to trim off the "bleed" - ideally with a guillotine, but scissors will do if you are qualified to use them! If you have holes to drill, you can then temporarily hold the overlay in the right place and then drill some small pilot holes through the transparency (and box), to get your positioning spot-on. Then remove the transparency, and then drill the proper-sized holes in the box.
To stick the transparency on, use a spray adhesive like "3M Display Mount". A light mist is all that is required - you don't want to gum up all over the transparency, otherwise it might show through the writing. Most glues works fine with laser printer toner, but if you are using an inkjet, try it first to check that it won't dissolve the ink - you may need to try a couple of different glues, or failing that, seal the ink first using a spray-on "Fixative" (just make sure that doesn't dissolve the ink as well!) If your inkjet ink isn't water soluble, you could even paint on some white acrylic paint on the back - particularly useful if the surface you are applying the overlay on is a dark colour, as otherwise you won't be able to see white through it. I always try to find light boxes, and then use a dark background image with light writing - this always looks good.
Next, turn your front panel over, and use a sharp knife to cut out the transparency showing through the holes. This provides a cleaner hole than just drilling though both transparency and the box at the same time.
If you are using displays in your project, you can leave a clear window in your design for the display to show through. This way, cutting out a slightly oversized hole doesn't matter either, as the edges of the ink will hide the rough edges of the hole. With a bank of square buttons like the remote control in the first picture, again the square hole can be oversized - just make sure that you cut out the square hole in the transparency before sticking on, use a sharp knife and ruler, and make it a little smaller than the cut-out in the box - this again will hide the rough edges.

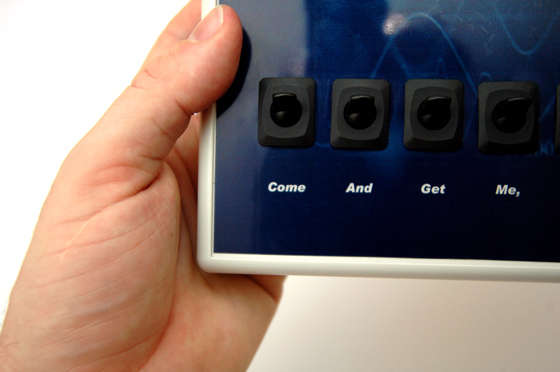
Now turn it back over and push through the components - panel-mount components will have a nut on the reverse side to fix them, which can be tightened now.
Always choose components like these switches below which have a lip around them, as this will hide an oversize or roughly-cut hole in either the plastic box or the transparency.
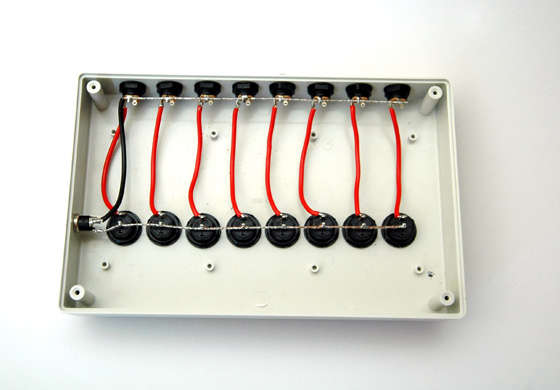
Now you wire up your components / circuitry etc. Can't tell you how to do this, as it will depend on what you're building! (Hopefully you have your own brilliant idea for a gadget by now that could use this technique!). This is a simple switch box for lights, so wiring was very easy.
Re-assemble your box, and you are all done. Time to impress your friends with something they won't believe you made yourself!
