Using Eagle3D and POV-Ray, you can make realistic 3D renderings of your PCBs. Eagle3D is a script for EAGLE Layout Editor. This will generate a ray tracing file, which will be sent to POV-Ray, which in turn will eventually pop out the finalized image of your PCB.

- EAGLE Layout Editor- This is the PCB CAD/CAM program used for making your PCBs.
- Eagle3D- This will generate the file used by POV-Ray
- POV-Ray- This will render the final image of the PCB.
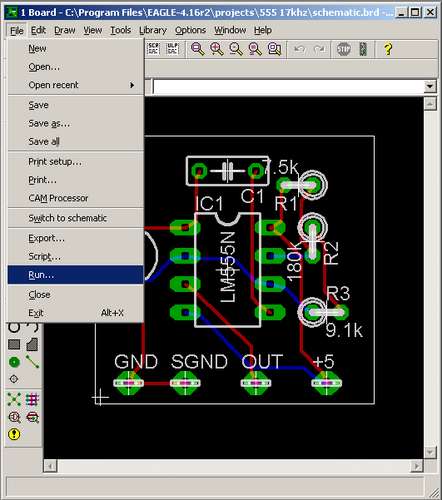
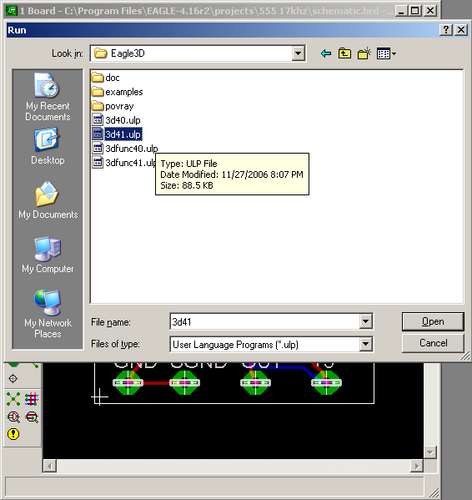
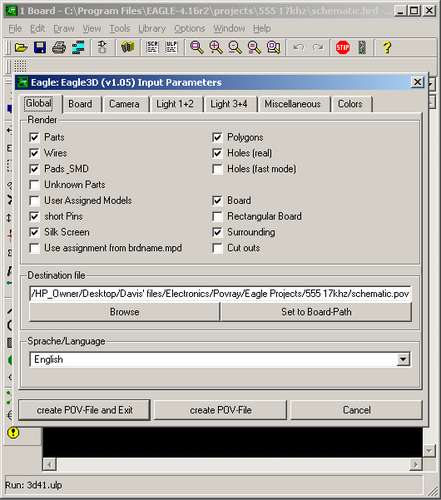
After installing the required software, you need to generate a POV file that is read by POV-Ray. To do this, open up your board in EAGLE. Then, click File>Run. You want to find the install directory of Eagle3D, and find where the ULP files are stored (mine were stored at C:Program FilesEagleULPEagle3D). If you are running a version of EAGLE later than 4.1x, you'll want to select 3d41.ulp. If not, select 3d40.ulp. Click Open and a file generation interface should pop up. This is where you will make your selections on how the rendered board will look. I usually leave the settings to their default positions, unless I am using custom created parts. Then click Create POV file and exit. A message should appear telling you that your POV file has been created successfully.
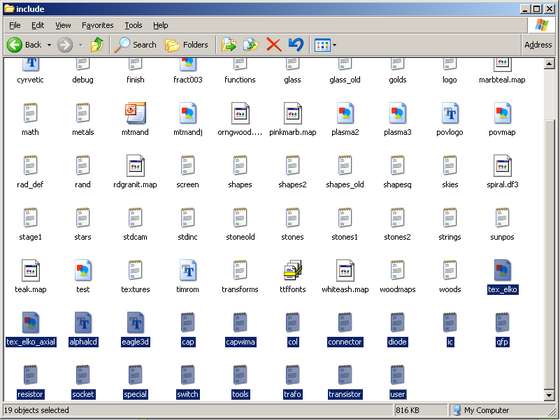
Eagle3D uses special #include files when it is scripting, and you need to give these files to POV-Ray for your image to render. First, go into your Eagle3D program directory. Find the folder named POV-Ray, and copy the files to the "include" folder in the POV-Ray root directory.
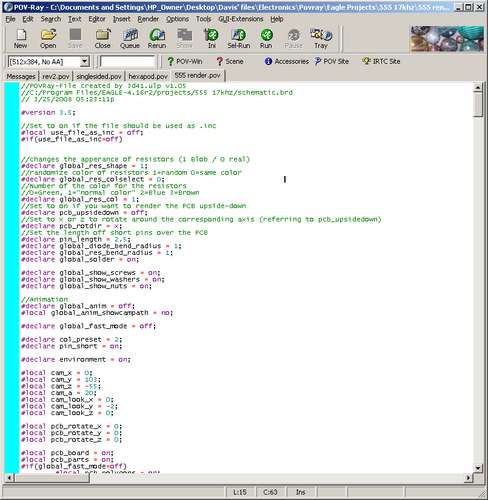
Open POV-Ray, then open your .pov file generated by Eagle3D. Click Run, and you should see the image being generated, with a live preview. This generated image is automatically saved in the same directory as the .pov file, and is also named the same. If you would like to change the camera angle, you can do so by regenerating the pov file with Eagle3D, and changing the Camera Settings tab.
Eagle3D only includes a number of parts, and you can expand your library. Here is a link to a tutorial showing you how to create your own parts.
