Florin shows us how to convert a Nokia 1110 cell phone’s normal monochrome LCD to a color LCD scrounged from a Nokia 1600. This article does not have much to do with microcontrollers or electronics hobby work but it is interesting and shows that you can hack your cell phones to make them suit your taste. This is very much in the Maker spirit.
The idea for the project came when I wanted to change the Display LEDs from my Nokia 1110. The original LEDs are green, so you get a green light behind the screen, well I didn’t like that so the main goal was to place some white LEDs to get a white background. But luckily I stumbled on a problem that made me reconsider the mod.
The LEDs for the display on all modern phones are built-in inside the LCD so there are 2 pieces of very thin glass and the LEDs are placed between them. No possible way for me to change those.
Now if think about it, it is probably a bad idea to place white LEDs behind the original LCD, because the contrast will be considerably lowered. The point is I ended up changing the whole display.
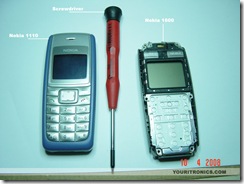
If you want to do this mod yourself, you’re going to need only one tool, and that’s a special screwdriver. I don’t have a code, or a name for it but it just fits on Nokia screws. I paid about $5 for one. Besides the tool you’re also going to need a broken Nokia 1600, just to use the color display from it.
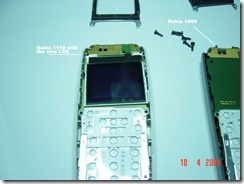
I had a broken Nokia 1600 lying around, so I used the display from it because the connector is the same as for the monochrome display from Nokia 1110. Probably there are other displays from Nokia that have the same connector and will work on Nokia 1110, so if you have a Nokia in the 1xxx series you should check to see what kind of display and connector it has.
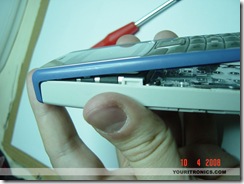
The first step is to disassemble the Nokia 1110, and you start by removing the battery and the battery cover, next you remove the front cover together with the rubber keyboard
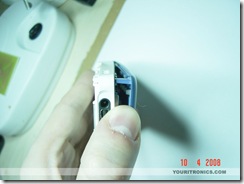
Now you should be able to see the screws that keep everything together. Grab that special screwdriver and start removing the screws one by one. The different parts are layered, so remember their place so you can put them back together.
After removing all screws the first thing that comes off is the black frame that holds the LCD in place and also houses the speaker.
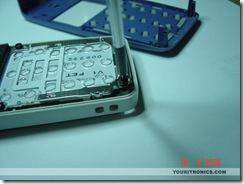
Now you should be able to see the LCD connector, you simply disconnect it.

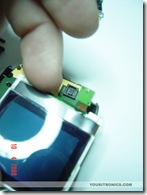
Now leave the Nokia 1110 as it is and start disassembling the Nokia 1600 to take its display out. Mine was already missing the screws so it was easy. Here is the color LCD and its connector; you can notice it’s the same as for the monochrome display.
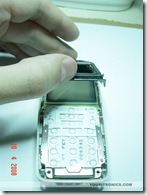
The displays have the same size and shape, so now just place the color LCD inside the Nokia 1110 and connect it to the main board.
Now all you have to do is re-assemble the Nokia 1110, just place the parts as they were and insert the screws.
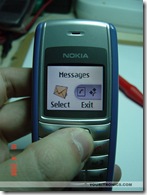
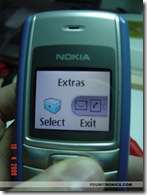
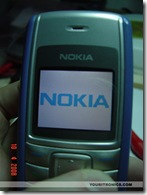
If you made it so far and everything went okay, power on your phone and it should look like mine. It’s cool to have a color display on a phone that everybody thinks its monochrome. I haven’t researched the idea behind this compatibility, but I can only imagine that Nokia builds the same main board for several phones, in order to reduce the costs. It’s cheaper to run one manufacturing line instead of two.