Continuation
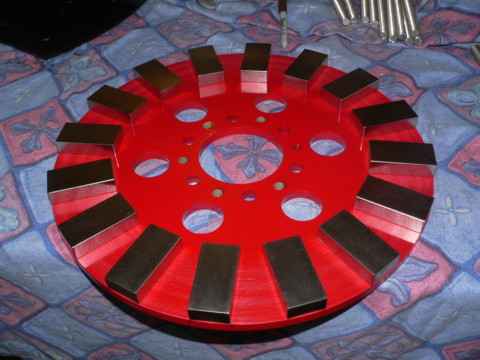
On this page we'll go over how we make the magnet rotors. We do a few things differently here than we did on any other pages in the past -- and we build all our machines this way now. First, we have the magnet rotors sand blasted and powder coated. The powder coat adheres very well to the steel, and we think it may prevent corrosion issues that sometimes come up with magnets when we have Nickel plated magnets on steel rotors (galvanic reaction). We don't really know, but there's no harm in doing things this way. So, first step is to powder coat the rotors and next step is to put 16 magnets evenly spaced around the rotors with opposite poles neighboring one another. The magnets we use are N42 grade, 3 inch x 1.5 inch by 0.75 inch blocks.
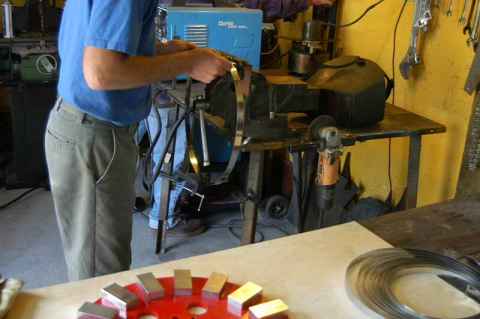
We now use stainless steel banding around the magnet rotors; it's 0.30 inches thick (about 1/32 inch) and 3/4 inch wide. We wrap it around the rotor tightly and scribe it so that we know the exact circumference. Then we cut the banding about 3/16 inch short and weld it together with stainless steel welding wire. You could also braze it or silver solder it. The trick is to make sure you get things nice and straight before you weld it. Once the bands are welded together, we heat them up with an oxy-aceteline torch right to the point where the stainless banding just starts to turn yellow. One person heats it -- the other person (wearing welding gloves) grabs it at just the right moment and drops it on the magnet rotor. As it gets hot it expands. Once it starts turning color it's usually plenty large enough to drop right over the magnet rotor. As it cools, it shrinks, and fits very tightly around the magnet rotor. This adds a lot of insurance that the magnets could never fly out. It also makes a nice cavity to pour the resin into. For past machines we would just wrap tape around the rotors and pour resin around the magnets, then remove the tape. We've had problems with magnets coming out of rotors, and hopefully this is a solution. It also looks nice.
 |
|
Pictured above is the front magnet rotor with the stainless steel band shrunk onto it. |
 |
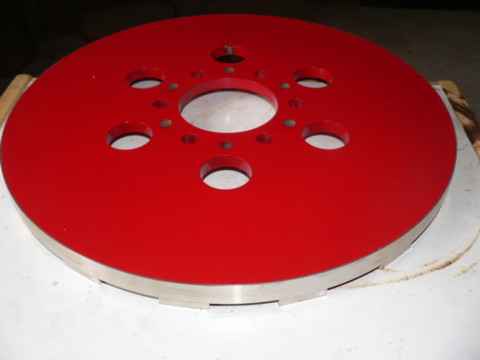
| A magnet rotor with the band shrunk around it, ready for casting, is shown above. |
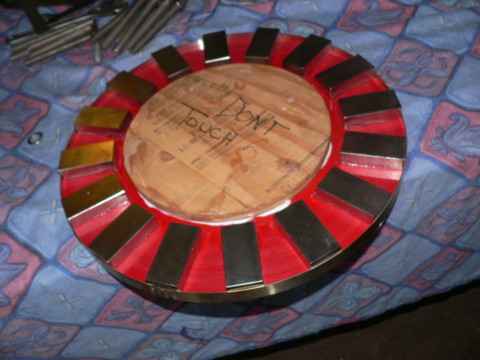
We cut out a plywood disk (half inch plywood is fine) and make an island 11 inches in diameter, and glue it to the inside of the magnet rotor with caulk. Now we have a cavity to pour resin into and cast the magnets permanently into place. The resin we normally use is vinyl ester (although epoxy is fine), mixed about 50% by volume with some kind of filler -- we use alumina trihydrate (ATH) and a little bit of chopped fiberglass.
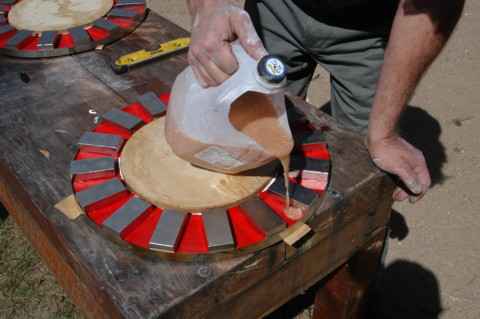 |
| Old milk bottles work nicely for mixing resin in. Pictured above we're pouring the resin (described above) into the magnet rotor. |
To be continued